The past month was busy on the Exploring project, as student scanners in Digital Library Services completed over 25, 000 scans from June 10 – July 10th. This total is inclusive of the two types of scanning that have occurred simultaneously on the project thus far: flatbed scanning of the glass plate negatives from the Bell Museum, and overhead scanning of the field notebooks from the MN Geological and Natural History Survey. Curious as to how this all happens? Here is a brief overview of our process:
Glass Plate Negatives
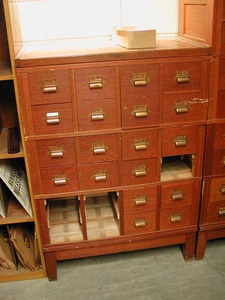 The Bell Museum glass plate negatives are stored in a film room in the caverns of Andersen Library. The 5,000+ negatives are divided into 56 separate drawers which are generally labeled in sets of 100 plates per drawer. A master list of drawers was made so that notes could be kept by scanners if any oddities were found during scanning (broken glass, torn enclosure).
Sets of drawers are sent to Digital Library Services in sequence, and scanners – wearing gloves – remove the negative from its respective paper enclosure, and scan both the negative and the envelope (the envelope contains important descriptive information – more on that later).
After a drawer is scanned, the digital image files are quality checked and then stored on a secure file server. Completed drawers are returned to the caverns to go back in to their temperature controlled environment, and new drawers are pulled and sent off to be scanned.
After all of the glass plate negatives are scanned, they will be removed from the drawers and placed in individual enclosures more suited for their preservation.
(click on image above for a larger pop-up version)
Field notebooks
While the glass plate negatives can go straight to the scanning phase right out of storage, the notebooks require a preparation phase where they get “camera-ready.”
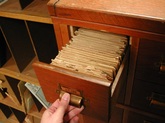
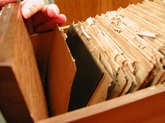
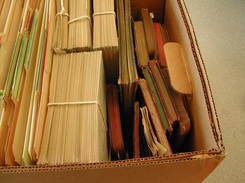
Step 1: From the existing finding aid for the MN Geological Survey field notebook collection, we created a master scanning list to assign a unique identifying description to each notebook (which helps to organize the image files). A master scanning list, as well as proper description of the archival materials to be scanned, is important. Why? Because upon surveying the collection, you may remove the lid of a box to find this:
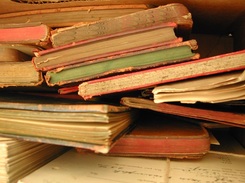
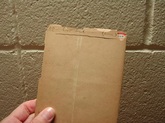
As “scan stack of notebooks shoved in back of box” is not an ideal specification for a seamlessly organized digitization project, we organized and described the loose notebooks by placing them in folders. The folders were titled, numbered, and then documented on the master scanning list accordingly.
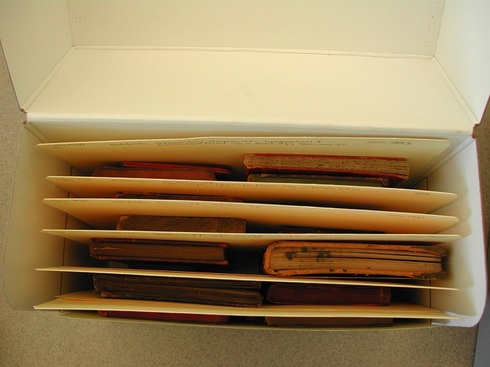
– “Ahhh… so much better.“
Step 2: Prepare materials for scanning.
Each page of each notebook is reviewed. Irregularities (such as oversize materials and inserts) are noted, and specifications for positioning are made. As each page is reviewed, fasteners (straight pins, staples) are removed, and folded materials are unfolded.
After the prep work is complete, sets of boxes go in to the scanning sequence and are sent in batches to Digital Library Services where they are scanned by an overhead scanner. The digital images of notebook pages are saved according to their unique identifying description, and are stored on secure server space. Finally, scanning staff perform quality control checks on the images to ensure that no errors occurred, and then return the boxes of physical materials to University Archives where they are placed back on their shelves in the Andersen Library caverns.
Is that all? Not in the slightest! Stay tuned for future posts that will cover the next stages in the Exploring digitization process.